The 10-Point Kitchen Remodel Checklist Before You Demolish Anything
Two weeks from now, someone is going to take a sledgehammer to your cabinets. Before that happens, the most useful hours you'll spend aren't the loud ones. They're the quiet ones — walking the room with a tape measure, a notepad, and a flashlight, working out what has to happen before the first screw comes out.
Demolition is fast. Preparation is what keeps it from getting expensive. Here's the order worth working through.
1. Measure the Room and Everything That Has to Fit in It
Cabinet measurements are the easy part. The surprises come from the dimensions nobody writes down until the new fridge won't clear the doorway.
- Wall-to-wall and floor-to-ceiling, measured at several points. Corners are rarely square and ceilings are rarely level. Measure at both ends of a wall, not just the middle.
- Doorway, hallway, and stair widths. If the new range can't turn the corner at the bottom of the stairs, you'll find out on delivery day.
- Appliance footprint plus clearance. Refrigerators need breathing room at the back and sides. Get exact model specs before you build the surround.
- Soffits, window trim, outlet and switch heights. These decide how tall upper cabinets can be and where you can cut.
- Countertop depth and overhang. Measure the existing counter rather than trusting the standard.
Write everything in one notebook, sketch the room roughly to scale, and photograph the walls before they change. You'll refer to those notes more than you expect, especially when the cabinet order arrives six weeks later.
2. Map the Utilities Before You Touch a Wall
Water, gas, electricity, drains, and ductwork all run behind the surfaces you're about to remove. Find them on paper before you find them with a pry bar.
Locate the main water shut-off and actually test it. Old gate valves sometimes refuse to close, and discovering that mid-demolition is a bad afternoon. Do the same for the gas supply, and if the valve hasn't been turned in years, have a licensed plumber look at it. Gas work isn't a DIY category in most places.
Open the electrical panel and count what's available. A modern kitchen typically wants dedicated circuits for the refrigerator, microwave, dishwasher, disposal, and small appliances, plus a high-voltage circuit for an electric range. If the panel is full or the service is small, that's a project of its own — budget for it early rather than after the drywall is open. Similarly, if you want a vented range hood, there has to be a route to the outside. Decide that now, not when the cabinets are hung.
If the house is older, treat the walls with respect until you know what's in them. Lead paint, asbestos floor tile, duct wrap, and some ceiling textures are all real possibilities, and disturbing them without testing creates a health risk for everyone in the house. Have a qualified inspector test before demolition starts, and let a licensed abatement crew handle removal if anything comes back positive. Rules vary by region, so check with your local building department about what's required where you live.
3. Get the Paperwork Sorted First
Most jurisdictions require permits for structural work, new or moved electrical circuits, plumbing changes, and gas lines. Many also want a permit when a wall comes down or a window moves. The rules differ from town to town, so call your local building department and ask two questions: what needs a permit, and what drawings do they want to see?
While you're at it, check three more things:
- Whether a homeowner association or condo board needs to approve the work — these approvals can take weeks.
- Whether your insurance company wants to be notified, especially for anything structural.
- Whether your contractor holds a current license and carries liability and workers' compensation coverage. Ask for certificates, not reassurances.
A short conversation with the building department beats a stop-work order, and it's far cheaper than redoing permitted work after the fact. For anything contractual or structural, a lawyer or licensed engineer is worth a conversation.
4. Build the Temporary Kitchen a Week Early
Set this up before the real kitchen goes dark, then try cooking from it for a few days. You'll learn fast what's missing.
Find a spot for the refrigerator — garage, dining room, laundry — and confirm the outlet can handle it without tripping a shared circuit. Then assemble the basics on one stable table: microwave, kettle, coffee maker, toaster oven, slow cooker or hot plate, and a plastic tub for washing dishes in the laundry sink or a bathroom. Keep paper plates, disposable cutlery, and a dedicated bin of serving utensils nearby so you're not hunting through boxes every night.
Stock a small pantry of things you actually eat, plus a few easy dinners for the days when the crew is still in the house at seven. Running a household out of a temporary setup is annoying for a week and unbearable for a month if it's badly organized.
5. Protect the Rooms You're Keeping
Dust travels further than anyone believes. Seal the work zone with plastic sheeting and zippered doorways taped to the ceiling and floor, then cover the flooring on the path in and out: rosin paper with taped seams for light traffic, rigid protective board where tools and appliances will be dragged.
Close and tape off HVAC registers and cold-air returns in and near the kitchen, and plan to change the furnace filter when the work is done. Take pictures and mirrors off the walls in adjacent rooms — vibration loosens them — and move anything breakable out of the house rather than to the next room over.
6. Plan the Mess Before It Arrives
Where is the dumpster going, and does it need a permit to sit on the street? Will it block a neighbor's driveway or the sidewalk? Debris is heavy, so think about how material leaves the house: which stairs, which doorway, which path.
Sort as you go instead of at the end. Donate usable cabinets and appliances where you can, separate metal for recycling, and set aside anything hazardous — old paint, solvents, fluorescent tubes — for your local disposal facility rather than the curb. Keep a respirator, safety glasses, work gloves, a pry bar, a utility knife, a shop vacuum with a fine filter, a fire extinguisher, and a first aid kit within reach on day one.
The Night Before: A Ten-Point Walkthrough
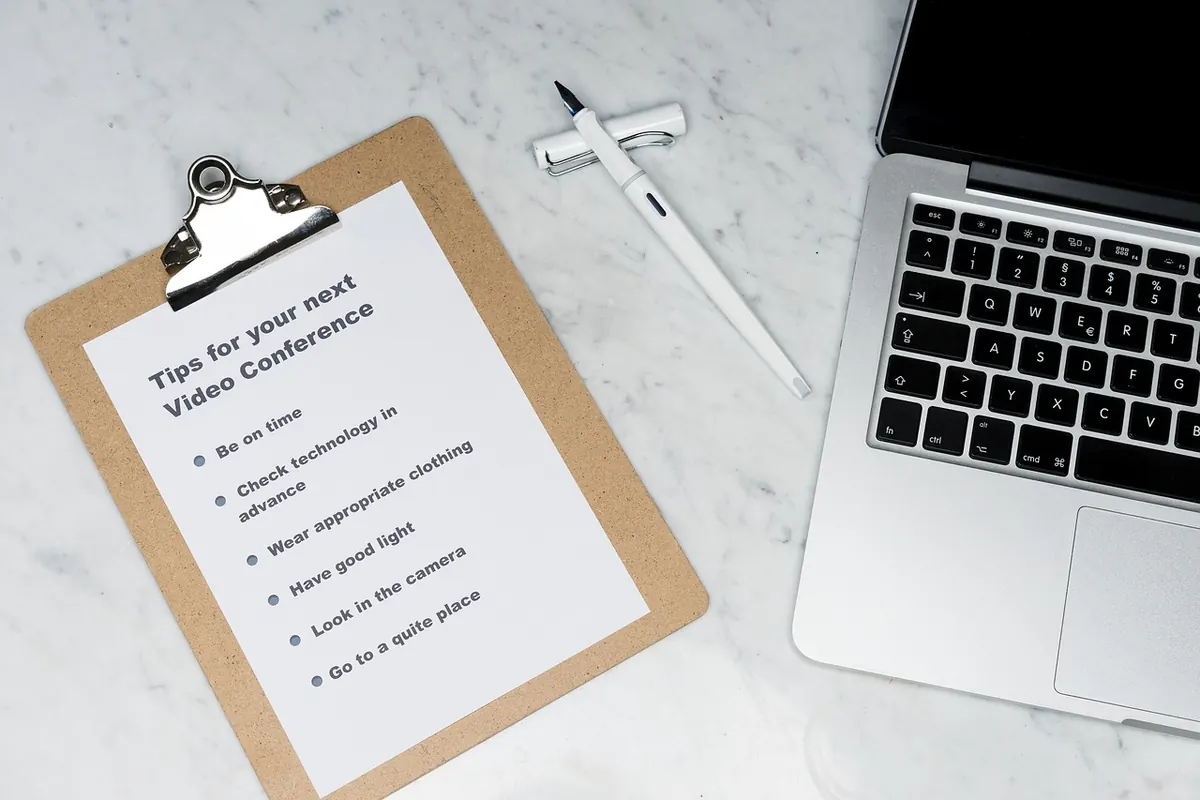
Do this the evening before demolition, with a clipboard and a phone in hand.
- Photograph every wall, cabinet, and connection one last time.
- Confirm the water, gas, and power shut-offs work and everyone knows where they are.
- Confirm permits are posted or filed and inspections are scheduled.
- Move the last of the food and dishes out of the kitchen.
- Check that floors and nearby furniture are covered.
- Verify plastic barriers are sealed at ceiling, floor, and jambs.
- Confirm the dumpster or debris plan is in place and accessible.
- Confirm who is removing appliances and whether utilities are disconnected first.
- Clear a wide, lit path from the kitchen to the exit.
- Put the tool kit, safety gear, and water bottles in one labeled spot.
Then get some sleep. The demolition isn't the hard part — it's the part you've already made easy.
Photo: viarami / Pixabay